Rendering for Product Visualization in CINEMA 4D
size: 545 mb
format: flv (time: 2h 19min/eng)+project files
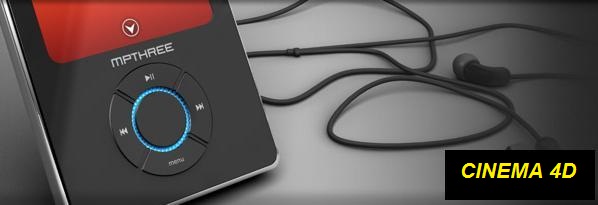
In this CINEMA 4D tutorial, we will learn how to create realistic product renders within CINEMA 4D. Pre-visualization is a very important part of the product design process, because it can be used as a photorealistic mockup, allowing the client and the designer to see how an object is supposed to look and function before it is manufactured. This tutorial will focus on achieving a high degree of realism in your rendered product shots, and we will be emphasizing key areas such as creating a studio light setup within CINEMA 4D, complete with light diffusers and reflectors. We will also learn how to simulate a wide variety of materials, such as clear plastic, matte plastic, brushed metal, illuminated LEDs, chrome, as well as many additional tips and workflows that will help you to get clean, professional renders of your final product.
.
1. Introduction and project overview
2. Creating UVs for MP3 player using BodyPaint 3D
3. Simulating LED backlighting in CINEMA 4D
4. Repositioning the MP3 player for easier rendering
5. Creating primary light source for the product render
6. Creating geometry to act as studio light diffusers
7. Creating transparent and reflective plastic materials
8. Using stacked materials in CINEMA 4D
9. Creating blurred reflections in CINEMA 4D
10. Building a simple environment to aid reflections
11. Creating a rubber material for the headphone cords
12. Using lights to accentuate surface and curvature details
13. Using global illumination to add secondary lighting
14. Creating a brushed metal material for the MP3 player
15. Making final quality adjustments to product render
download link here
http://vip-file.com/downloadlib/93820383000843826761-96680.99c8446e26a84847622b657f3240/ProVIZ.rar.html
No comments:
Post a Comment